Did some rasping on the neck the other day. The first picture shows the neck in my shaping jig. On this guitar a volute was apart of the design. This decorative addition adds strength. The second photo details this area. The side position markers, were made from maple. You can use plastic, mother-of-pearl, all kinds of material for this task. I had some maple scraps left over from the back of the acoustic, so I used it. A pencil sharper was used to give the piece of maple a point. The holes were drilled and the maple points glued in (photo). The result can be seen in the last picture.
Of course on the blog it seems these different stages go quickly but much time is spent every step of the way. The first picture shows a piece of sandpaper sticking out of the neck joint. This is put in and tugged out until the seam is acceptable. Sometimes you have to take off more on one side to get the center lines on the neck and body to match up. In the second picture the neck has been bolted on and the fretboard clamped to the neck. Everything is lined up a triple-checked. It is time to glue the fretboard to the neck (third picture). The next day I flushed up the neck to the fretboard and the routed the headstock (fourth picture).
With the neck roughed out and marked (center lines, nut location, 14th fret) it was time to route the tenon which will join the body. The body too was routed but with a mortis. These were both done using jigs made for this purpose. The next step will be to fit the heel of the neck to the body. This will be tough and time consuming. As you can see by the picture the future headstock looks uneven on one side. This is because it will have six-in-line tuners, not three on each side. No very traditional for a steel string, but Fender has made some acoustics this way in the past. I will use the same headstock pattern I designed for "The Rufus."
The last coat of clear was sprayed on today. The guitar must now be given time for the lacquer to cure. This will be about three to four weeks. After this, final sanding and buffing. In the mean time I will begin to build the tailpiece and bridge.
In the spray booth working with The Rufus. I decided to add a mix of golden and dark brown tints to the lacquer to give the guitar a soul-glow. It was too bright before. Looking really nice now. Once again, the sound track for this short film was created with a Mac, a synth and a guitar.
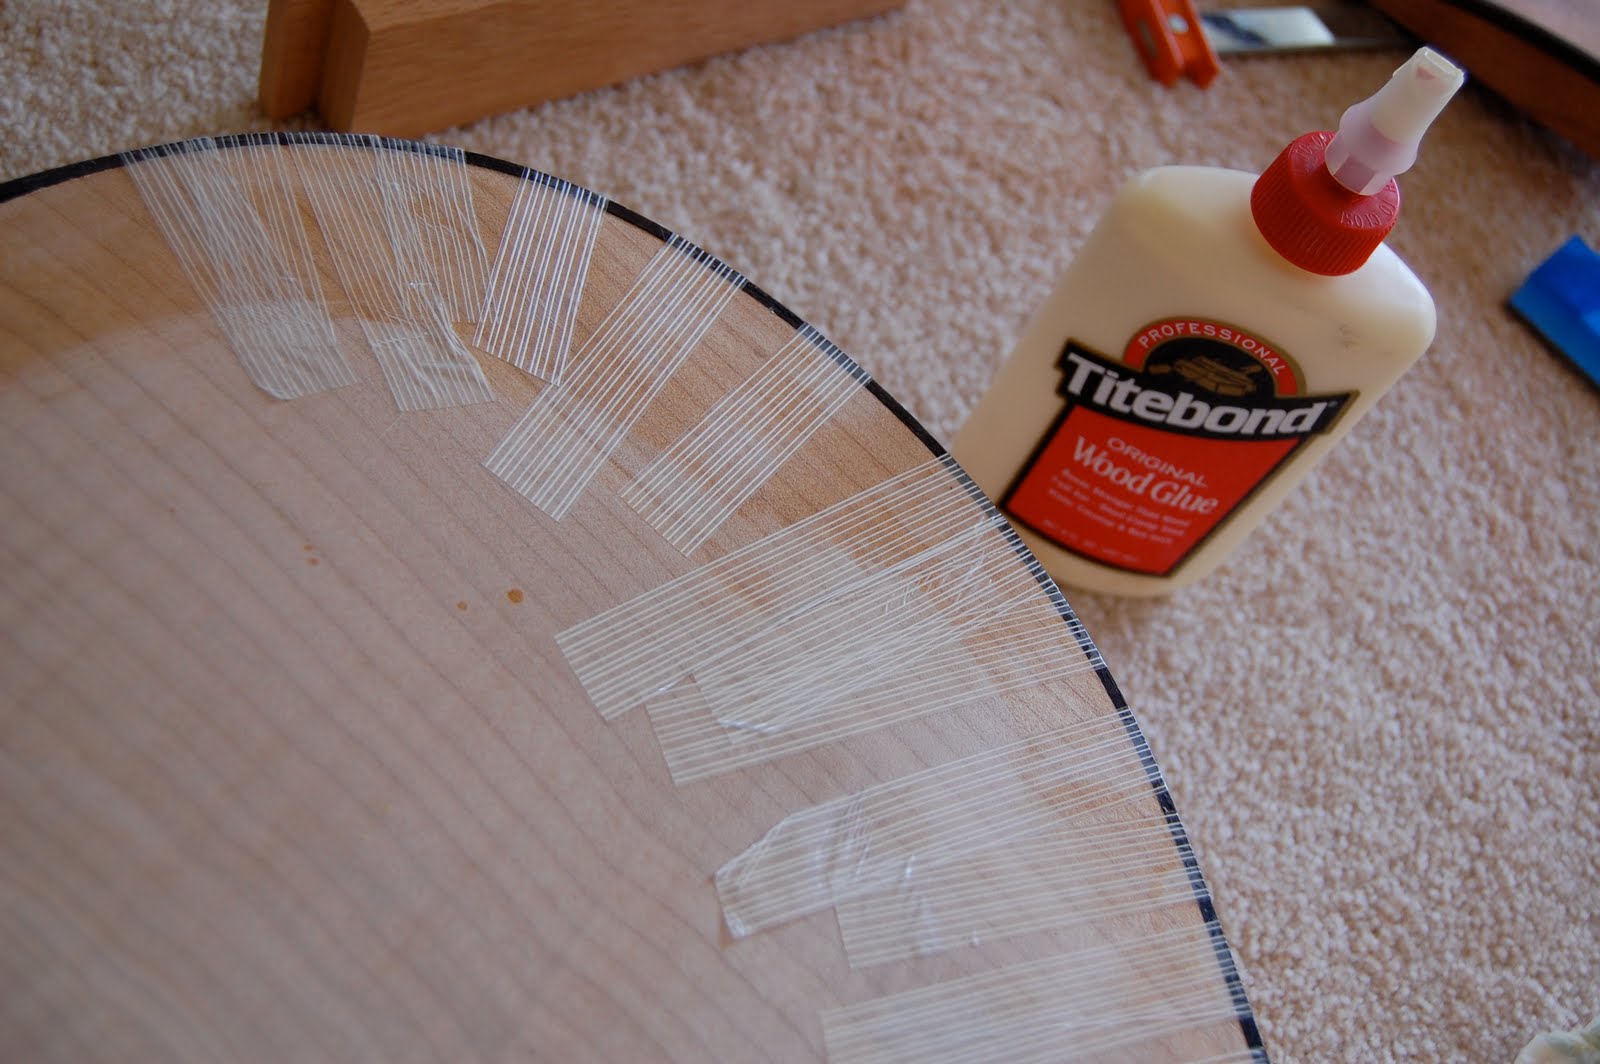
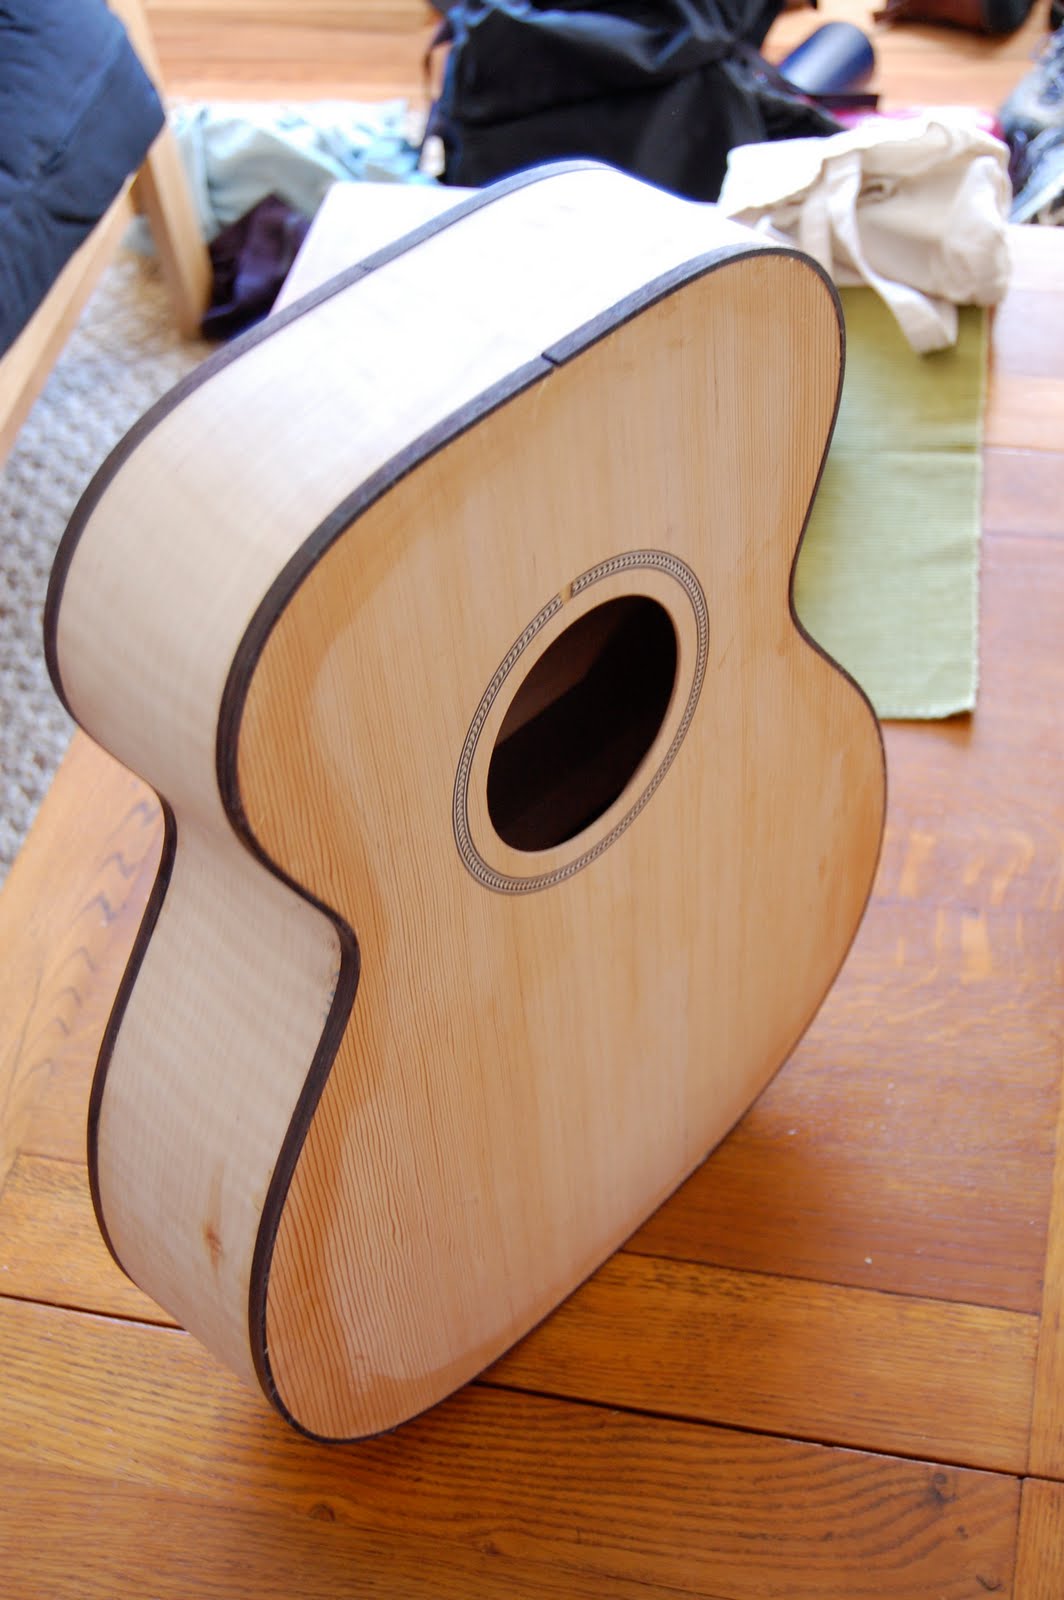
The rosewood bindings have been added to the body. Bindings are thin strips of would which act to cover the joints of the top/back plates with the sides of the guitar. Here is the gist of it: 1. I bent the wooden bindings with heat and steam in a bending-jig (picture). 2. A laminate trimmer was used to route a channel along the sides of the body. This channel will accommodate the binding. 3. The binding was glued in using filament tape to hold it down (picture). 4. The end results are pictured here. The next step will be to sand the binding flush with the body.