Been working a lot on The Rufus this week. Dressed the frets and put in the electronics. Just a few things to tight up and she is done. When building a guitar from a sketch like this the challenges run high. This has been one of the most complex designs to bring into fruition but has also been rewarding. Hopefully, Dr. Rufus will like it.
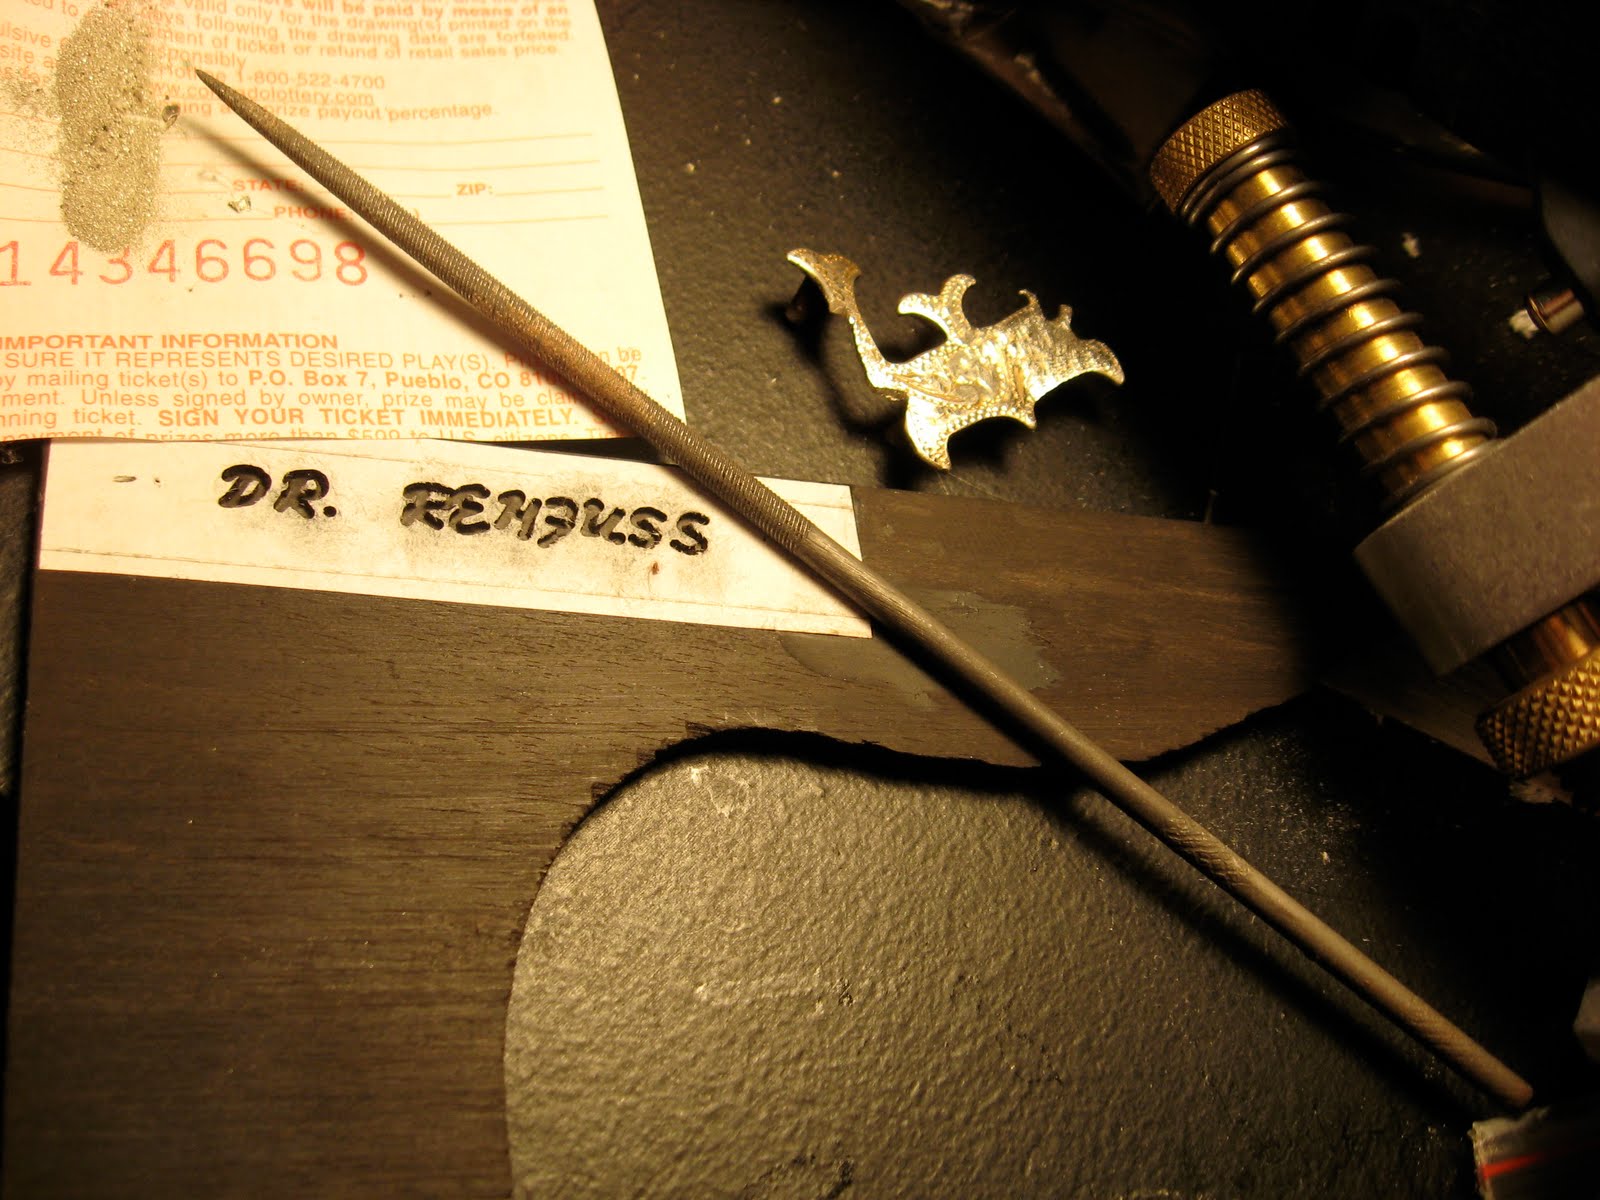
The truss rod is made of steel and runs the length of the neck. Its purpose is to allow some adjustability of the neck action. One can adjust the neck tension with an allen wrench at the headstock. This hole in the headstock must be covered with a plate. This one is made of ebony and has been routed to say, "Dr. Rehfuss," the future owner of this guitar. Silver has been filed down to fill the letter cavities. Then, with the glue dried sanded off and shaped into the truss rod cover. These shots show the process:
After designing and building a prototype tailpiece for the Rufus (which did not work) I made some changes and began again. This one is going to be both light and strong. A jig was taped to a piece of mahogany and was then cut out. I drilled holes for the future strings. To give it a matching look with the headstock, bridge, etc. a veneer of ebony was then glued to the top. Once dried the ebony was cut away leaving the rough bridge. The next step will be to shape to thickness and add some brass which will ground the strings to the endpin jack.
Roy Ponce rippin' his custom Marshwood with Brainchild (www.brainchildjam.com) at Summer Camp Music Festival. That's Roy jamming with Jake of Umphrey's McGee preforming the song Resolution at Summer Camp Late Night.
The guitar's lacquer coat has cured long enough to begin the final sanding. I started with a wet sanding of 600 and 800 grit paper (picture). At this point it was a good time to fit the bridge (picture). This was made from ebony. Once the contour of the bottom of the bridge matched the top of the guitar I buffed the instrument. So far it looks great.
Began this process by making a template out of plywood. First by cutting out the diagram (made some subtle changes) on the acoustic guitar plans, then gluing it to a piece of .5 inch ply. I then cut this out (picture). Using two small screws I joined this to the rosewood stock, cut and sanded the rosewood flush with the template. In the picture the bridge is still very rough but that will change soon.
With radius sanding blocks I gave this fretboard a 12, 14 and 16 compound radius (More detail on radius-ing in previous blogs). After that, I used a straight sanding bar to level the board. Then the frets went in. It is starting to look like a steel string guitar. The headstock is taped for protection from bumps and bruises. The heel of the neck is beginning to take shape too. Once completed, I can focus on building the bridge.